Pen Making Process
Due to all the tax collection headaches and reporting I have removed all listing from here and moved all my items over to my Etsy store.
Click this link to visit my Etsy store: ncwoodart.etsy.com
Click this link to visit my Etsy store: ncwoodart.etsy.com
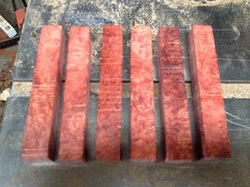 Black Ash Burl Dyed Red
First the pen blank to be used for the pen is inspected & cut to size for the pen being made. Most pens require a 3/4" x 5" blank.
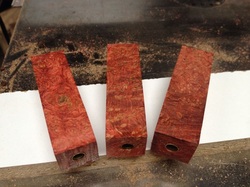 Black Ash Burl Dyed Red
Next the blanks have to be drilled to size for the brass tubes to be installed. The holes must be perfectly centered through the entire blank to ensure the grain of the wood matches. You have to be extra careful not to drill too fast or generate too much heat or the blank may build up heat & pressure. This causes the blank to explode & you will not be able to use that blank & have to start from scratch.
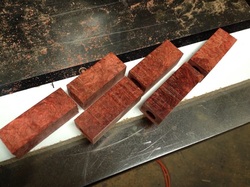 Black Ash Burl Dyed Red
After you have the proper size holes drilled in the blanks they have to be cut to length for the pen you are making. These blanks must have brass tubes installed into the holes. You need to allow proper time for the glue to cure before going any further usually overnight is best to be on the safe side. Then the ends of the blanks must be squared up with a special pen mill. If you do not get the ends perfectly square they will not match up properly & you will have a pen that does not look or fit properly- some pens will not work properly either if they are not perfectly aligned.
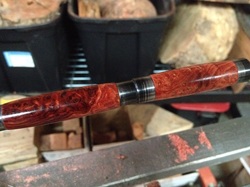 Black Ash Burl Dyed Red
Now you mount the pen blanks to the mandrel & special sized bushings for turning. You must gradually turn these blanks to the profile you want & hope not to get a catch & ruin the blank. With the blanks turning 1,000 rpm or more it usually doesn't end well when you have a catch. You get to start all over again from step 1. Once blanks are turned to a shape you are satisfied with you get to spend some time sanding & finishing. I use a 15 step sanding process that starts at 120 grit all the way up to 15,000 grit. This is very time consuming & you have to be careful not to sand too deep or the pen with not line up properly with the components. Your goal is to get the pen blank to the proper finish dimensions but not over or under. This takes a lot of time, patience & practice to make it perfect every time.
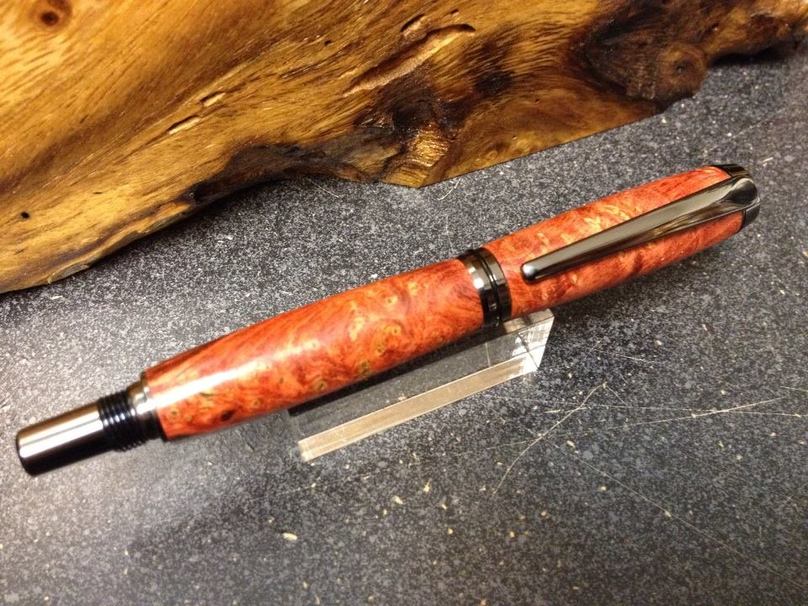
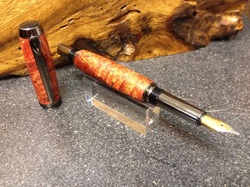 Black Ash Burl Dyed Red shown with Gun Metal components
If you get it right like I do every time... well most of the time I get it right. You take all the components & carefully assemble to make the finished pen. I take extra care to keep all the components from being damaged during assembly process. All the parts are carefully inspected & laid out on clean cloth so they can be cleaned before assembling them into the completed pen.
Now you have a finished pen.
Now you have a finished pen.
